Category Archives: Blog

Why don’t you teach a class on this?

Originally posted as “Choosing a Class” on Nov 14, 2018

“This is cool; why don’t you teach a class on this?”

There are so many great ideas out there, and so many people interested!  The trick is mixing and matching it just right; selecting classes where there is enough interest, the right timing, and the perfect balance of fun, relaxing, simple and inexpensive. 

So how does something go from a great idea to a class? Let’s walk through an example of an upcoming class.

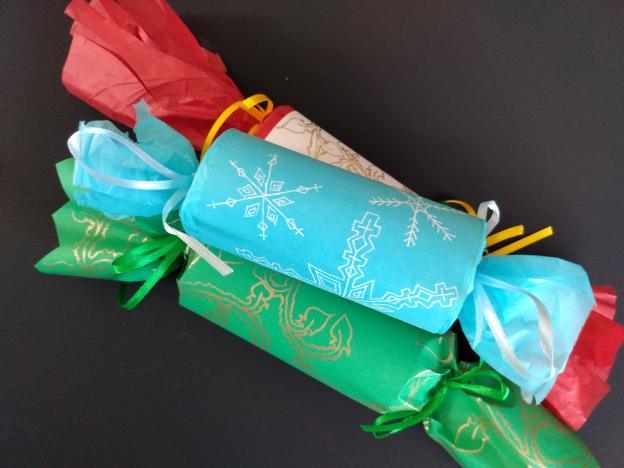
Holiday Party Crackers Class coming December 4th to the McMillan Arts centre.

THE INSPIRATION 

  1.  See a cool idea – hey, what about tangling those crackers you get at family holiday dinners?
  2. Do some research. Can you make them yourself? Are there resources to buy the materials? Is it hard or expensive to do? 
  3. Try it out for myself. I made several crackers of different kinds, and experimented with different tangles to use. Once I did that, I evaluated:
  4. Was it fun to do? Did it take a ton of time?
  5. Would it be fairly simple for students to do? (what’s the skill level required?)
  6. Did it take a lot of materials?
  7. Was it ‘zen’ enough for me? (a mindful exercise, not stressful)
  8. What is the Zentangle spin on this – does it present a technique or tip that would be useful in other tangling?
  9. Is this something you could do again after taking the class?
  10. Can you take this and do different things with it? (other tangles, other applications) – is there room to have fun with the idea?
  11. Can it be taught in 3 hours? (or is it a longer-term project?)
  12. Would this appeal to enough people?
  13. Then I did a little more research:
  14. Are there other examples I can study? Who else has done them – any photos I can look at?
  15. Are there other ways can this be done? Could you do simpler/more elaborate/different twists?
  16. What tangles could I use to teach this? (I like to have a number of possibilities)
  17. Is there a kit or lesson plan I can buy or ask to share?  I always ask permission before teaching someone else’s class idea. (In this case there wasn’t; I was free to create my own.)
  18. What’s the focus or angle I want to take in teaching the class?

THE CRITERION

Every CZT has their own criteria and their own preference for teaching classes.   My current preference is for classes that:

  • are accessible for all levels of skill (Zentangle Basics the only prerequisite)
  • can be taught within my framework of  $40 for 3 hours, with materials extra (in this case I added some materials to be included because it was a special class)
  • fit within my own schedule and that of the place I’m teaching
  • are either Basics, or FUNdamental (further Zentangle skills) or ZIA (Zentangle Inspired Art)

THE SCHEDULING

So now I’ve chosen a class to add to my calendar.  What now?

  1. Choose the name of the class. In this case it was my own lesson; if I’m using someone else’s lesson plan (with their permission of course), I may call the class by that name.
  2. I usually set up classes by season, starting with a Basics class, then a follow up (fundamentals) style class (like shading) and a ZIA (Zentangle Inspired Art) class for cool projects.
  3. Are there holidays in the season that would fit well with the class? In this case, December is a good time, but before Thanksgiving would have worked for an autumn themed party cracker.
  4. Are there other offerings like Tangle Island or another CZT in that season?  I would try to keep the date from competing with these offerings.
  5. Would enough interested people be able to fit this into their schedule?

THE PREPARATION

  1. I create prototypes for the class. I make lots of examples and choose the ones that are going to be the samples on the flyers, online registration, website, etc. I need the image before I can announce the class because people will want to know what the project/class sample will look like.
  2. Get the word out. I usually start about 3 months before the class and announce on my website, flyers, Facebook, online registrations, etc. I like to plan classes by season which means I need to know all 3 class offerings at this stage before I proceed.
  3. Make a list of class materials. It needs to be affordable and easy to find. I also make sure I have a set of materials for people to borrow if they can’t find what they need. (In this class, I also needed to purchase special materials to include; things that aren’t readily available for purchase.)
  4. Write out the lesson plan. Even if there is a prepared lesson plan, I like to actually walk through it as if I were teaching it. I make notes of what to include or change in the lesson – or what to remember to say. I customize it to my students and my teaching style and what I want to emphasize about Zentangle in these classes. And sometimes (as in this case) I create the lesson from scratch.
  5. Prepare packages and teaching materials. A couple of weeks before the class I go through everything again, make any last minute adjustments and prepare any class materials and assemble teaching equipment and materials. This gives me time to make sure I’ve got everything we need for the class and all arrangements are made.

Once I teach the class (and assuming it’s successful) it will usually go into my roster of classes available for private or semi-private lessons, and classes I will teach again in the future.  The exception would be if the class materials are of a limited variety – a one-time thing.

There’s always something new to tempt me to teach a fun new class.  At the moment I have at least 45 class possibilities in my ‘class ideas’ folder, some of which require more research and experimentation.  My 2021 Fall class schedule includes a Basics Class (September 4th), a class I’m teaching with permission (Rock Cairns October 2nd), a class I developed myself (Octopus’ Garden November 6th) as well as this Holiday Party Crackers class.

With every new idea winging by, I take a look, decide whether to bump a ‘future class idea’ or just put it in my folder for eventual use.  That’s why I like to be cagey and say I haven’t decided on the next round of classes. Some ideas include Stained Glass Windows, Parksville Sand Dollars, Shading, Zen Buttons….

Do you have an idea for a class? Share it with me!

Process or Outcome?

(The first version of this post appeared in my old website on June 27, 2017.)

As we move through various phases of our lives, it seems that we are always revisiting things we have learned but in a different context.  Focusing on ‘process’ over ‘outcome’ is one of those things for me. 

Clear your mind. Take a minute to appreciate this time and your materials. Deep breath. Now what’s the first tangle that comes to you? Start there.

Learning about Zentangle taught me the importance of being in the moment, letting go of judgements, and re-learning how to create just for the joy of it.  If it had not been for Zentangle, I don’t know if I would have ever rediscovered this.  It’s all about the process of drawing; the experience of actually creating something is more important than the finished tile.  The magic is in how satisfying the end result usually is.

This is a hard feeling to hang onto when we talk to other people.  We are so used to measuring worth in terms of outcome that creating something just for the act of creating is a hard concept for some people to get. (If you don’t believe me, find out how many seconds it takes for a new acquaintance to ask what you do/did for a living).  

“But what do you DO with it?” they ask me when I tell them about Zentangle.

Often I do nothing with it.  My daily tiles are not meant to be ‘done-with’.  I keep them in a photo box so I can paw through them from time to time. One box will hold at least 365 tiles, so I have one for each year I’ve tangled. It doesn’t take up much room because I have no plans to display them all.  I do post my daily tiles on social media, but that’s my commitment to show up regularly with a tile and without judgement.  I want to be okay with not being perfect, and to show others it’s okay, too.

Creating a tile for the fun of it. Is it perfect? Nope. But it was so much fun anyway! Z2562-2021Jan15

Even my Zentangle Inspired Art (ZIA) is something I do to please myself.  I create things I want to in order to explore art techniques, to experiment with tangling things on different surfaces, or simply to please myself.

“You should sell your stuff,” is so nice to hear, and I am pursuing this with some of my ZIA.  But from time to time I need to pull back from that aspect for one simple reason.  

When you start to prepare art for sale it becomes about outcome again.  And it becomes easy to second guess yourself.  Now you aren’t just pleasing yourself, you’re pleasing your prospective buyer.  And you need to produce in order to sell.  It’s pretty hard to ignore the “what if it isn’t good enough?” voice in your head.

For me, that’s when it’s important to make it clear in my mind the purpose of what I’m doing.  Is this piece meant to be something I am creating to please just myself?  If so, whether or not it sells, or other people like it is beside the point.

Isn’t that what art is really about?  Making something that gives you joy, or simply gives you a voice, regardless of what other people think.

When you focus on the process and the joy of creating, and you just keep doing it, the outcome really does take care of itself.

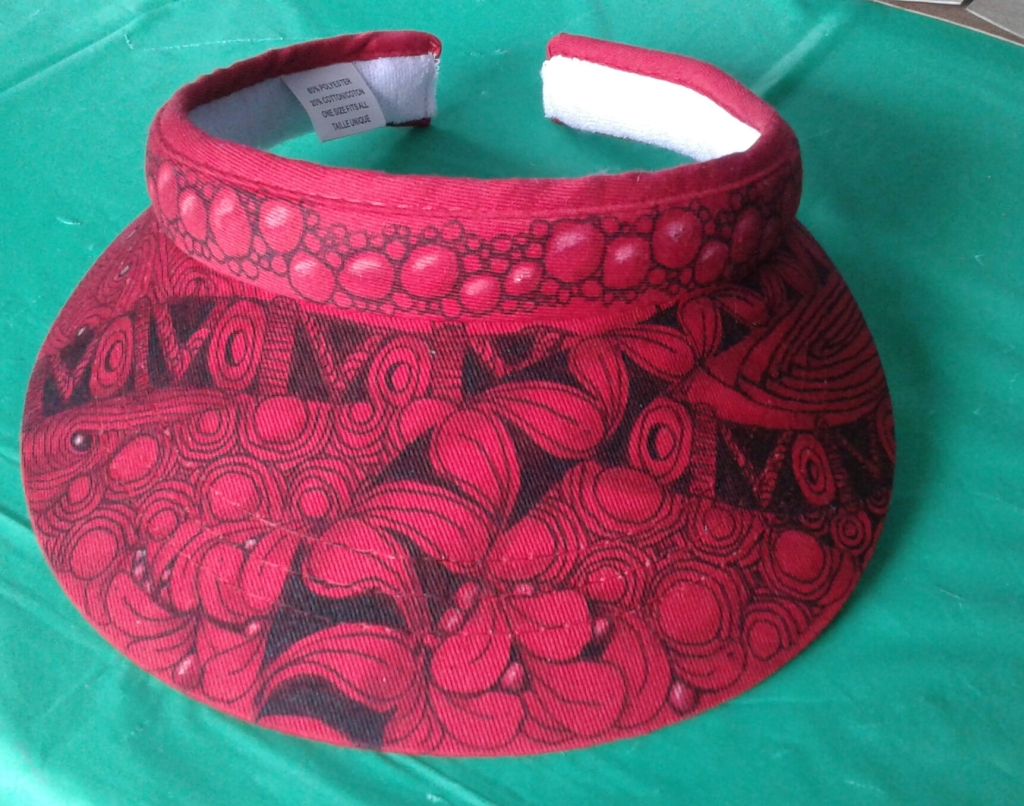
This visor was for sale in the Artisan Gift Shop at the McMillan Arts Centre in Parksville. Did I know how it would turn out when I started? Nope – no plans – just focused on the process and enjoyed it!

Adding colour to a tile

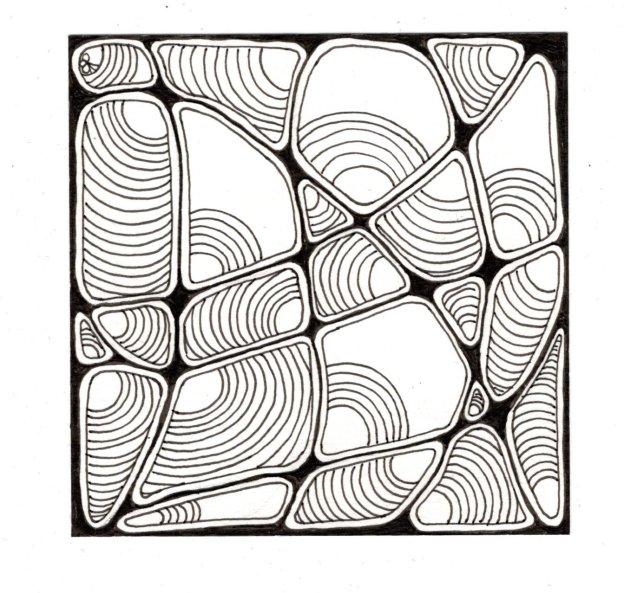
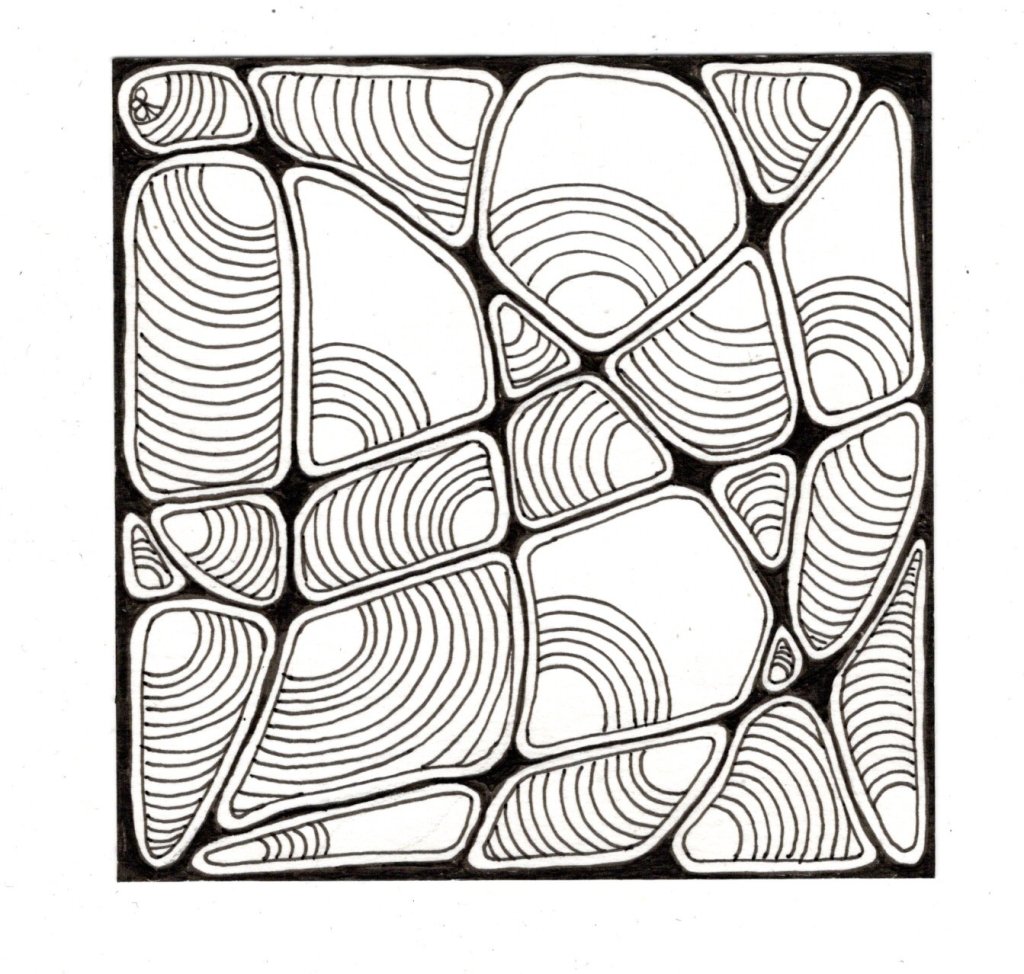
Today’s tile took me on an unexpected adventure.

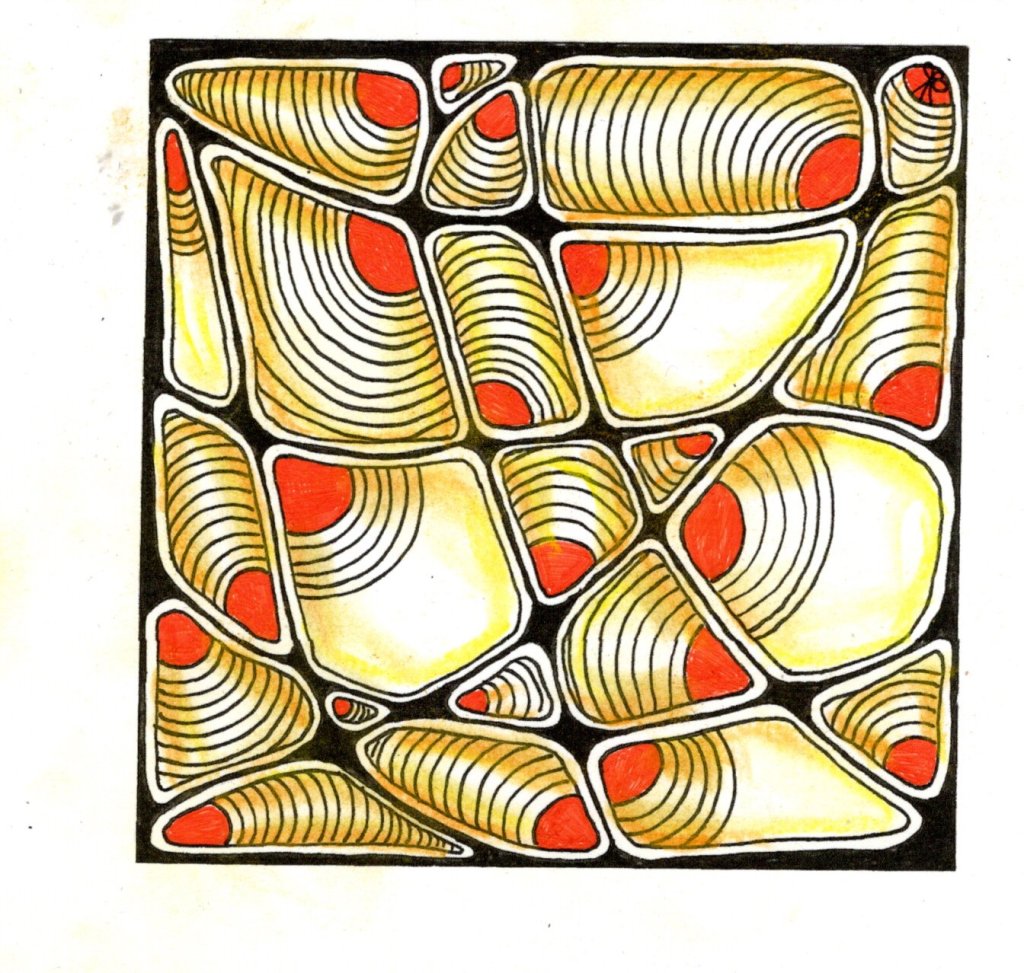
I started with a simple idea – what if I used N’Zeppel for a string and filled it with a fragment like Crescent Moon?  Couldn’t be easier, right?

As I tangled I decided to make my N’Zeppel spaces pretty big, and to blacken the interstices (the bits in between). It seemed only logical to blacken around the edges as well, so that the N’Zeppel spaces would stand out.

Then the fun started.

As I drew my Crescent Moons, a little voice told me to wait on blacking them out. The background is already black – I might want to do something different.

Then I started to like the negative space in some of the areas, places where I didn’t put the Crescent Moon auras all the way. When I decided to stop I still had a lot of white space. And I liked it just the way it was! I didn’t even want to shade it!

But I did want to try some ideas.  So I scanned the tile in and made a couple of copies, then started to play.

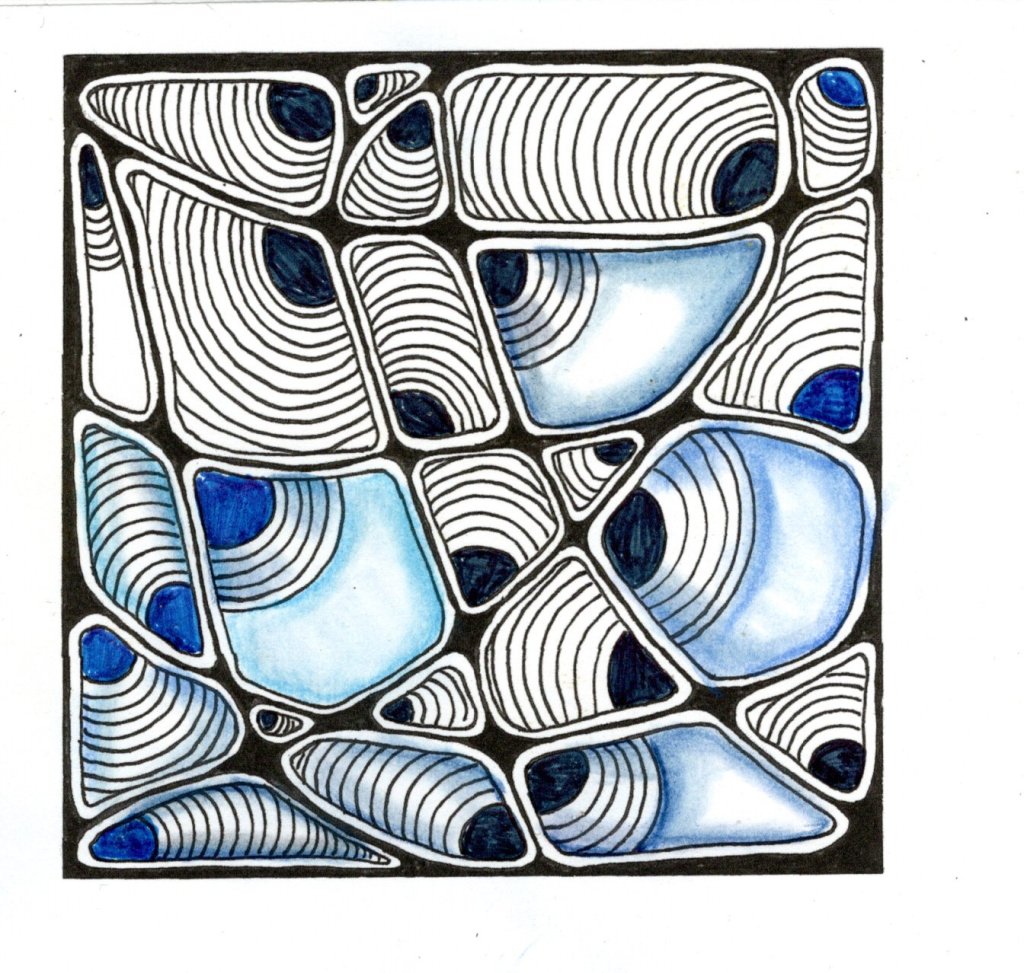
In the first version, I used a navy PN pen to fill in the Crescent Moons, but it seemed too dark.  So I tried lighter blue.  I liked that better, but what about shading?  So I tried three different shades of blue pastel pencil.  I decided I liked the lighter blue for the Crescent Moons, and the darker, almost Navy blue for the shading.

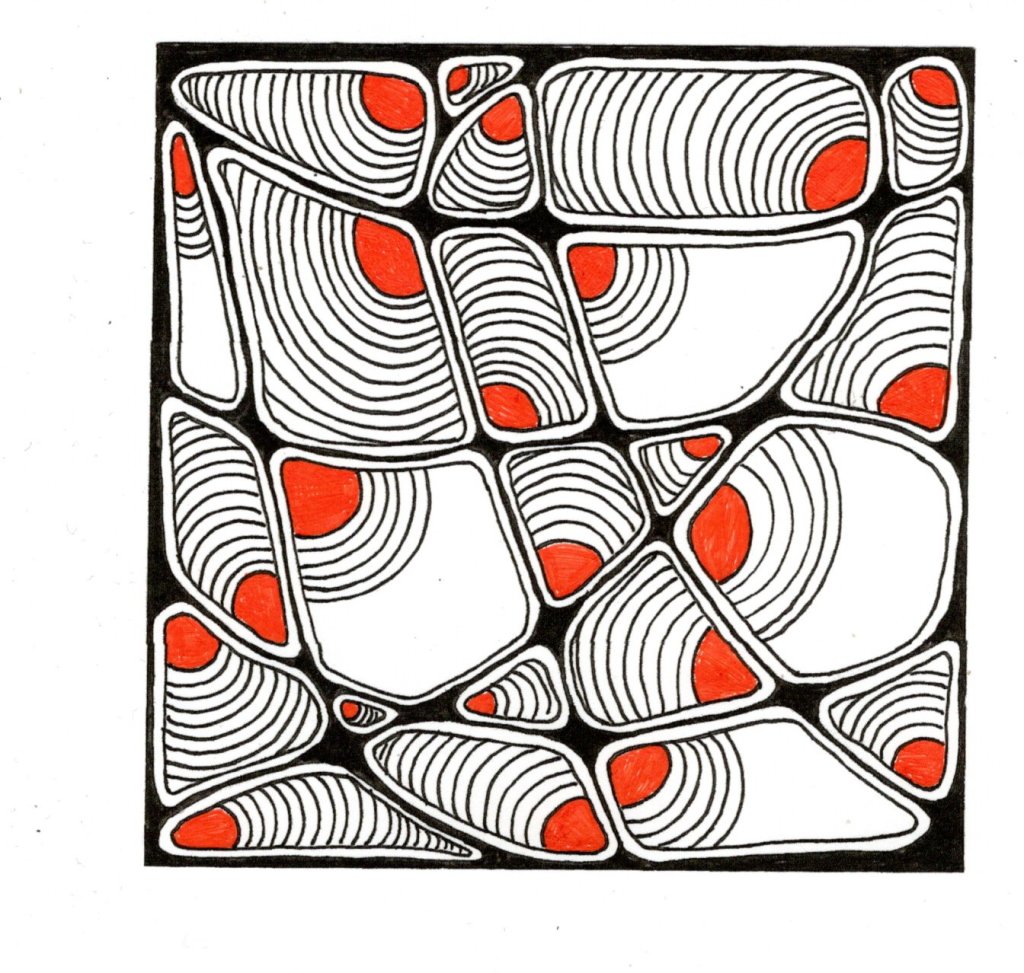
Hmmm.  So what if I used a different color altogether?  Enter the orange Micron – oooh I like that!

For shading, I didn’t want it all orange, so I tried orange/yellow/orange around the aura areas, and yellow in the negative spaces. 

So today, I’m going with that color combination.  But guess what?  I kept the original tile white – room for more experimentation.

So when in doubt, I highly recommend scanning in your tile and then trying all kinds of things. Who knows what you’ll come up with?

Afraid to Shade?

This article was originally posted on my old website in 2017.

“I love my tile the way it is – I’m afraid shading it will mess it up!”

I’ve heard that comment often from my students.  While shading adds a whole new look to your tile, it is another area where uncertainty lies.  How will you know you like it better when it’s shaded?

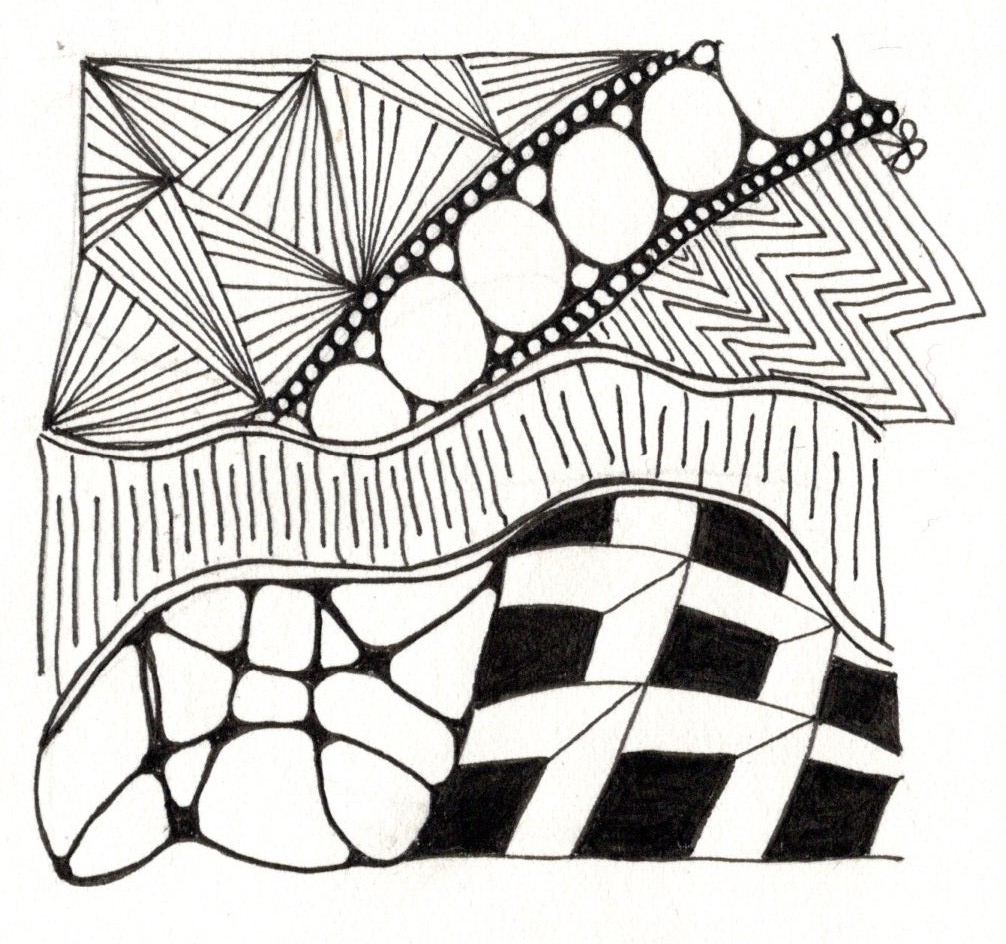
First thing to remember is – it’s pencil.  Pencil can be erased.  I know, there are no erasers in Zentangle, but if worse comes to worse, you can always go back to the original tile as long as you’ve shaded in pencil.  It’s your art.   Nobody will tell on you!

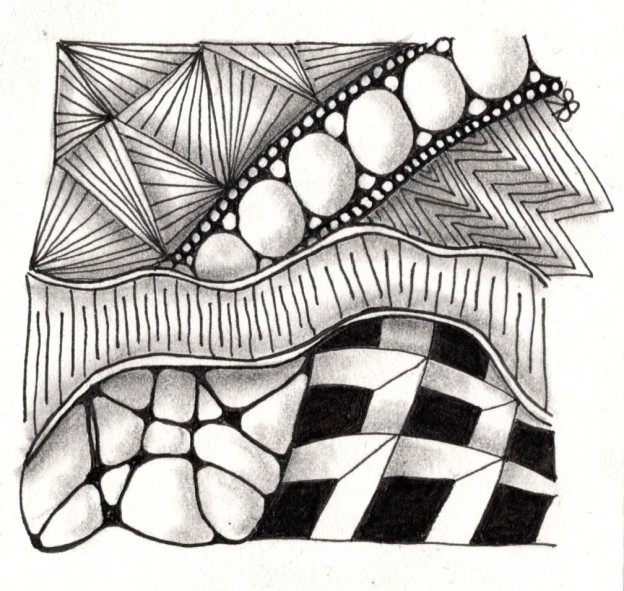
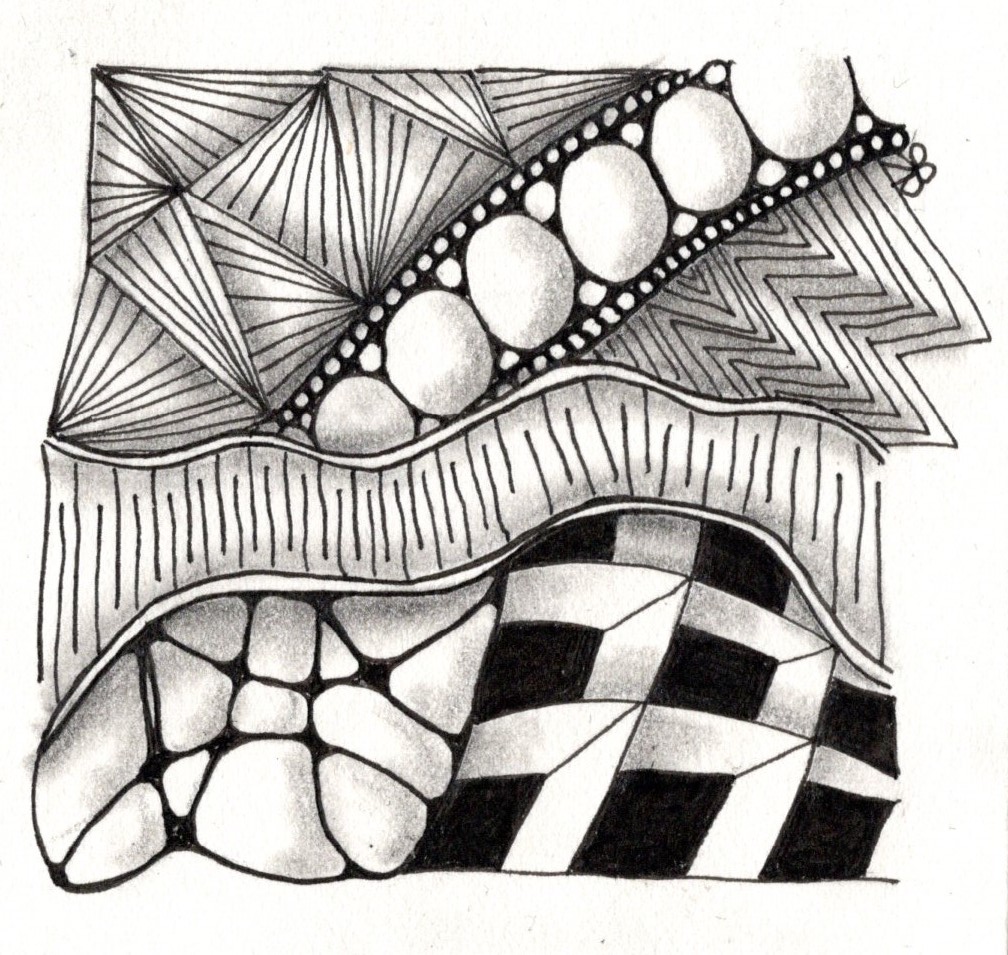
Second rule of thumb is to shade in layers.  Start lightly, laying down a small amount of graphite and gently pulling it down to create a shaded line.  If you use the side of your pencil and shade gently, there will be no hard line to blend or to dig into the paper.

Third suggestion is to use the side of your tortillon or blending stump when you’re shading and move in small strokes.  This gives you more control over where the graphite is going.

Is the shading still not showing?  Go back and add another layer of graphite in the places you want a bit darker.  Blend again, and keep doing this until you have the effect you want.  Depending on the paper and the tangle, and where it is in the image, you might add more graphite in some places and less in others. 

Worried about smudging?  If you lay down too much graphite all at once it can look too heavy, giving the whole tile a greyish look.  Keep a light touch, and be aware of where your hand is so that it doesn’t trail the graphite where you don’t intend.   

Go slowly.  One stroke at a time when drawing with your pen, and also when shading and blending, too.

It’s important to remember that shading isn’t something you tack on at the end of a tile.  It’s part of the whole Zentangle process and that means it deserves the same attention as your pen lines.  Take time to look at your tile, admire it, turn it, and see if you’re drawn to a particular area.  Add your shading slowly and carefully, and enjoy the simple strokes and calming effect of working slowly and carefully.

Remember too, that there is more than one way to add shading.  Depending on your tile you might want to shade the overall shape, add detail to a tangle, or create depth to your piece.  You don’t have to do it all. 

Finally, if the idea of shading the original tile is still causing anxiety, you can always scan in your tile and make copies.  Then you can experiment until you find the look you want.

A CZT can provide more details, techniques and examples, and there are a number of different shading techniques that can be fun to explore.  Join me online for ‘Draw the Shades’, an online adventure into all the ins and outs of shading in Zentangle. ‘Draw the Shades’ is Nov 7th from 1:00-3:30pm PST and you can register online here, or contact me for more info.

Simple shading can make a tile jump to life.  Try these suggestions and see what happens!  

It’s just a practice piece

Taking an art class doesn’t have to be intimidating!    

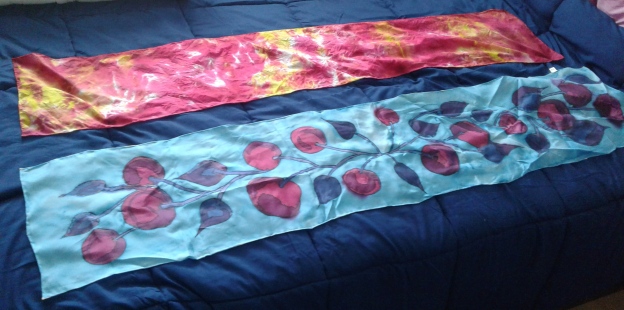
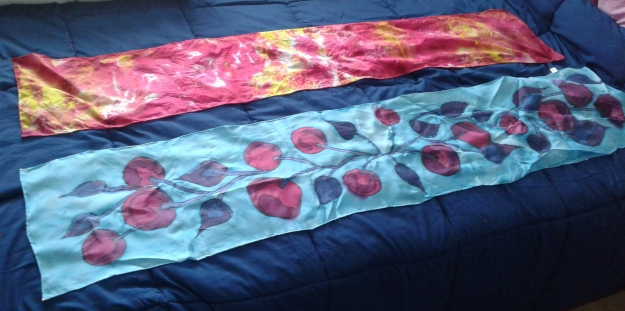
Have I told you what happened to me when I took a silk painting class?  I couldn’t wait to try out the technique and I knew exactly what I wanted to do for one of my scarves.  The instructor showed us what to do for the first scarf; drop some colour onto the scarf and let it blend over time.  I pictured a lovely scarf with sunset colours, orange and green and red.  I could see it in my mind.

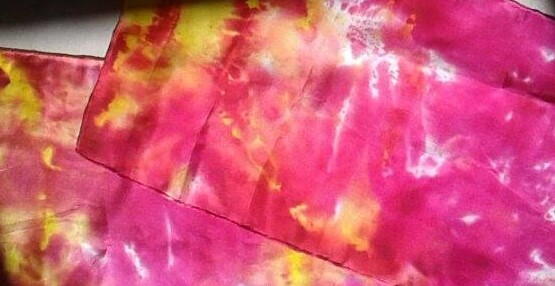
I picked up the red ink and dropped some colour onto my white scarf.  Hmm.  It looked like blood drops.  Well, okay, it will get better.  I looked over at another student who was dropping greens and blues onto her scarf.  It looked luscious already.  Well, I thought, I’ll just keep going and see what happens.  I picked up the yellow and dropped it in places around the scarf.  Now it looked like some kind of pus or infection. And the red was spreading out.   The whole thing looked a bit like a crime scene!  What to do? 

Before Zentangle I probably would have started to panic and worry that the whole thing was ruined.   But actually, I started to laugh.  I decided to call my scarf Dexter (remember that show?) and set it with the others to continue spreading the colour throughout the scarf.  It doesn’t matter – it’s just a practise piece anyway.

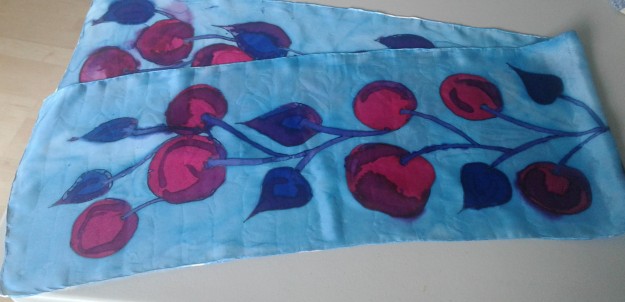
Onto the next scarf.  After stretching it on the frame, we were shown how to add resist lines to create an image.  I pictured a scarf full of giant poke roots and poke leaves in purple on a blue background.  Again, I could see it in my mind.  As it was the first time using resist, I worked slowly and carefully, but there were still places where the resist didn’t get right onto the fabric and when I added the colour there was a little bleeding.  When I looked around, I could see some of the other scarves and they looked perfect – colours all in place, lines clean and neat, and overall effect quite stunning.

But here’s where it got interesting again.  Instead of comparing my efforts and feeling discouraged, I found myself saying, okay, this worked here, but not there.  Next time, I want to ….   and I was enjoying the parts that I liked and analyzing what I would do differently next time.  I was thinking of this as my practice piece.

And that makes so much sense!  Once I let go of the idea that I was going to create a perfect scarf in this very first attempt, I gave myself permission to risk trying other things, experimenting, and analyzing as I went along.  It’s just a practice piece.

And in true  Zentangle fashion, when both scarves were done, I was very happy with the overall results.  Dexter was a beautiful splash of orange, yellow and red – not exactly sunset looking, but bright and cheerful and quite lovely.  And my pokeroot scarf goes perfectly with a dress I sometimes wear. While it’s not perfect, the effect is quirky and charming. 

So the best lesson I learned from taking this class is to embrace my own learning style, and enjoy the process.   Others may ‘get it’ the first time around, but I don’t have to.  I can just have fun learning about the process, trying it out, and just messing around and figuring things out on my own from there.  The result might not be perfect, but it’s me!

I’m not going to pretend I never succumb to ‘comparanoia’, but when I do, I just think of my Dexter scarf and smile. 

“Art is in intention, not perfection.”

A Tale of a Tile

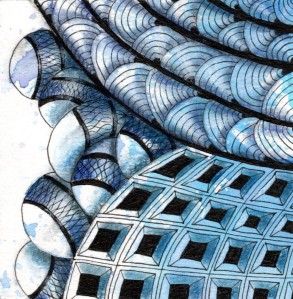
In my daily tangling practise yesterday, I pulled out this blue watercolour background tile.  The splotches lent themselves to three different areas to tangle, so I selected three tangles at random and began.

As I tangled, I thought about various aspects of the patterns – I started with the grid area, thinking I’d use Cubine, but changed my mind decided to use Dex, after I’d outlined each box so it would have a coffered look.  

Once Dex was finished I looked at the area where I’d planned Shattuck.  I decided to go for the curvy version to balance the boxiness of Dex.  It looked a little too light, so I used black on the lines and in each corner to give it a little weight.

Now on to the Jetties.  I wanted them big; I usually draw small Jetties so the larger version appealed to me. Making the bands all black seemed like it would look too heavy, so I opted for an airier, echoism-type tangle to fill them in, and used black bands to mirror the Shattuck bands.

Now for the shading.  I picked up my graphite pencil and tried shading. I was in the living room watching TV and my pencils were in another room.  It wasn’t long before I realized graphite was not going to be the look I wanted, so I left the tile until the next day when I could shade it in the way I wanted.

The next day, with my full array of coloured pencils, I went in and softened the graphite look by adding several shades of blue in the shading and finishing with some white coloured pencil for highlights.  As I was shading I realized I’d made one band of Shattuck different from the others – there were three ‘fans’ in a row going in the same direction instead of alternating.  Interesting.

In Zentangle we talk a lot about ‘no mistakes’. I thought this tile was a really good example.  Did it turn out exactly the way I had originally pictured?  No.  Do I like it?  Yes, I’m happy with it.  And one of the things I like best about it is that I can look at this tile and say I learned quite a lot!  I learned about graphite and blue with regards to shading.  I learned that I need to pay closer attention when I’m doing Shattuck – just like Knightsbridge, it’s when you’re doing something ‘easy’ that your brain drifts.  I learned that it might be fun to try Shattuck exactly like that – with all the fans going in the same direction; an idea I wouldn’t have thought of.  And I marvelled yet again that rather than ‘hating’ a tile and being discouraged, I quite enjoyed the ‘oopses’ and the challenge of how to incorporate them into the tile.

As an artist, I try very hard not to point out my mistakes to people.  Often they don’t even notice them, and even if they do, it’s rare that it will be something jarring for them.  It’s my own ego that wants to point them out, as a way of saying – ‘you see, I know this isn’t perfect so you can’t point out my mistake’.  And yes, I’ve had tiles where I couldn’t appreciate the ‘oops’ or I didn’t know what to do with it and couldn’t continue.  That’s when I put it aside and fish it out months (or even years) later with fresh eyes and a little more experience.

As a teacher, I want to point them out to you so that you can experience the same thing in your own work.  It’s okay to make a goof, and you really don’t have to tell anyone.  Eventually, the sense of challenge will arise when something like that happens, and you can honestly enjoy those moments.

And there is no rule that says you have to show any work to anyone else.  This is just for you!

I post my tiles every day as a way of encouraging you to keep trying.  Some are more appealing than others, but don’t let that stop you from creating.  That’s what’s truly important.

Zentangle tile

If you’re looking for a perfect artist, you’ve come to the wrong place!


NOTE:  This blog entry first appeared on my old website on March 30, 2016 (a month before I became a CZT).  2400 tiles later, it still rings true today. 

There are lots of websites filled with fabulous art by highly qualified and professional artists. I love them, and I visit them regularly for inspiration, ideas, and simply to enjoy seeing what other people create.

But this website is about mucking about, remembering how to have fun, and being fearless in creating, removing the judgement of what is “good art” or “bad art” or whether someone is “better at it”. Because we all deserve to create art regardless of what other people (or we ourselves) think of it. So that means I am going to commit to showing you a variety of work I’m doing – the stuff I’m really proud of and the stuff that didn’t quite work out the way I might have hoped. It’s important that you get to see the warts as well as the roses, because it’s important to know that it’s okay to create work that isn’t perfect.

Artists will tell you this is something they learn to deal with. They will tell you about the Inner Critic who is constantly reminding you that this “isn’t good enough”; that it doesn’t measure up to someone else’s benchmark. One of the great things about Zentangle is that it helps many of us move through this barrier, and once that happens we can look at the work of other people with an objective eye. Instead of bemoaning, “I could never make something that good” we can study it. “How did they achieve that effect? What would happen if I tried that? What would my version look like?” Out of that comes the realization that our work will never look like someone else’s and that’s the whole point. We each have our own style, and that means nobody else’s work will look like ours, either. And that means you actually are an artist!

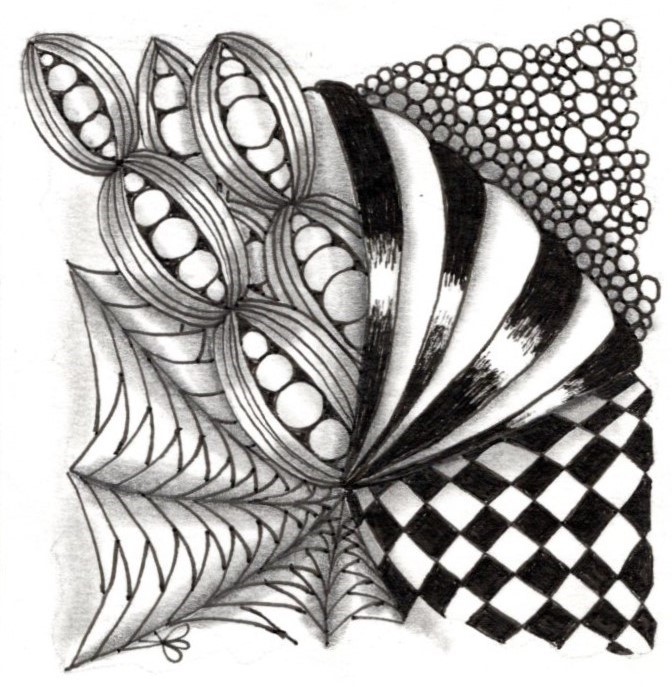
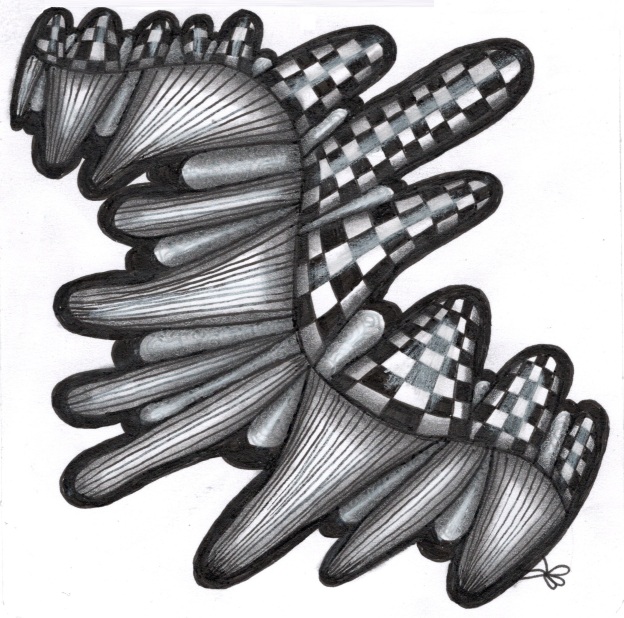
The tile shown is my very second one, done Jan 12, 2015

Classes in July 2020

Summer has always meant time in the garden, barbecues with family and getting out to enjoy the great outdoors.  Even though we’re restricted more than usual this summer, that doesn’t mean we don’t want to get out there and take advantage of the season.

For that reason, I’m going to be changing my class offerings for July and August. I don’t usually teach over the summer months, but because we can now meet online, I’m happy to continue offering Tangled Tidbits, and Zentangle private and semi-private lessons.

Tangled Tidbits is a small group that meets weekly for an hour (Fridays from 1-2 pm PDT) and we try different ‘tidbits’ of ideas, tangles, and so on.  This class runs on a monthly subscription, so this is a good time to join us for the month of July.  There’s always room for you in this class if you have already taken a Zentangle class with me (Art Bites counts).   You can find more information here, or contact me for details.  Cost is $35CDN/month.

(I’m also open to setting up another Tangled Tidbits for those interested in a different day/time, who are not alumni from my classes, or who want to start up as their own group.  Just let me know!)

Zentangle on Demand is my online version of Zentangle 1-2-3. In short, we can arrange a private lesson, or a small group lesson if you have a friend or two you’d like to tangle with. This option is great for beginners or experienced tanglers alike.

Beginners are welcome!  We’ll start with Zentangle Basics and have you tangling in no time.  And for those looking for follow up classes or individual attention, I’ve amassed a large selection of classes I can teach and you’re welcome to check them all out here.   You’ll need to have the materials (I can help you figure out what you need) and we’ll set a mutually agreeable time and place.  Cost is $40CDN for a private 2-hour lesson, or $30CDN/per person for a 2-1/2 hour class.

If any of these options appeal to you, contact me for more information.

Whether you take a class or not, I hope Zentangle will be part of your summer relaxation plans!

What’s a ZIA?

ZIA is short for  “Zentangle Inspired Art”.  While the Zentangle Method is specific in its philosophy and principles (non-representational, no mistakes, no rulers, keeping it simple), it’s only natural that enthusiasts would find Zentangle-inspired attributes spilling over into other art forms.  It’s a way of stretching the ‘rules’ of Zentangle in ways that retain the original Zentangle intention of being relaxing, enjoyable and mindful, while allowing for flexibility in how to apply the practise.  Many Zentangle practitioners and CZTs explore other forms of art including painting, quilting, card making, sculpting, drawing, collage, found art, pottery, embroidery, glass making…the list goes on.


ZIAs can have any or all of these characteristics:

  • patterns are tangled on something other than a 3.5″ tile – like a coffee cup, greeting card, Christmas ornament, plant pots, stones, fabric, a journal cover…
  • colour can be used, either in the drawing itself, or in embellishment – think sharpies, watercolour, pencil crayons, fabric paint….
  • can be representational – you can take a template/line drawing and tangle inside
  • rulers and/or more complex designs might be employed – mandalas are a beautiful example of this


ZIAs are a fun way to stretch your Zentangle muscles!

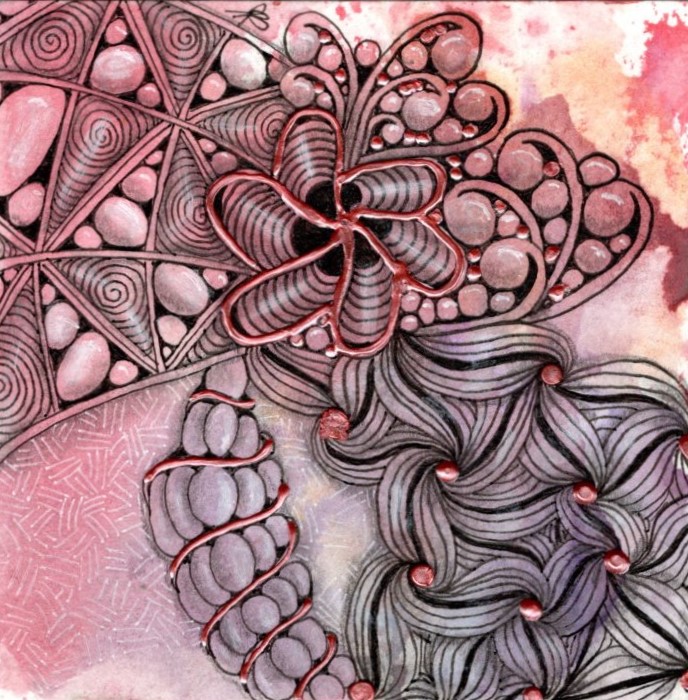
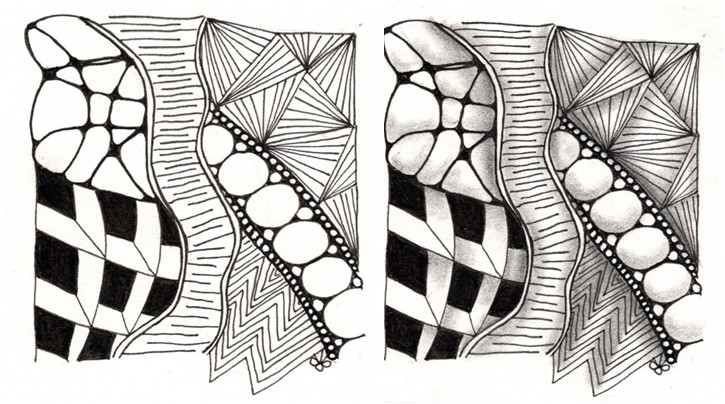
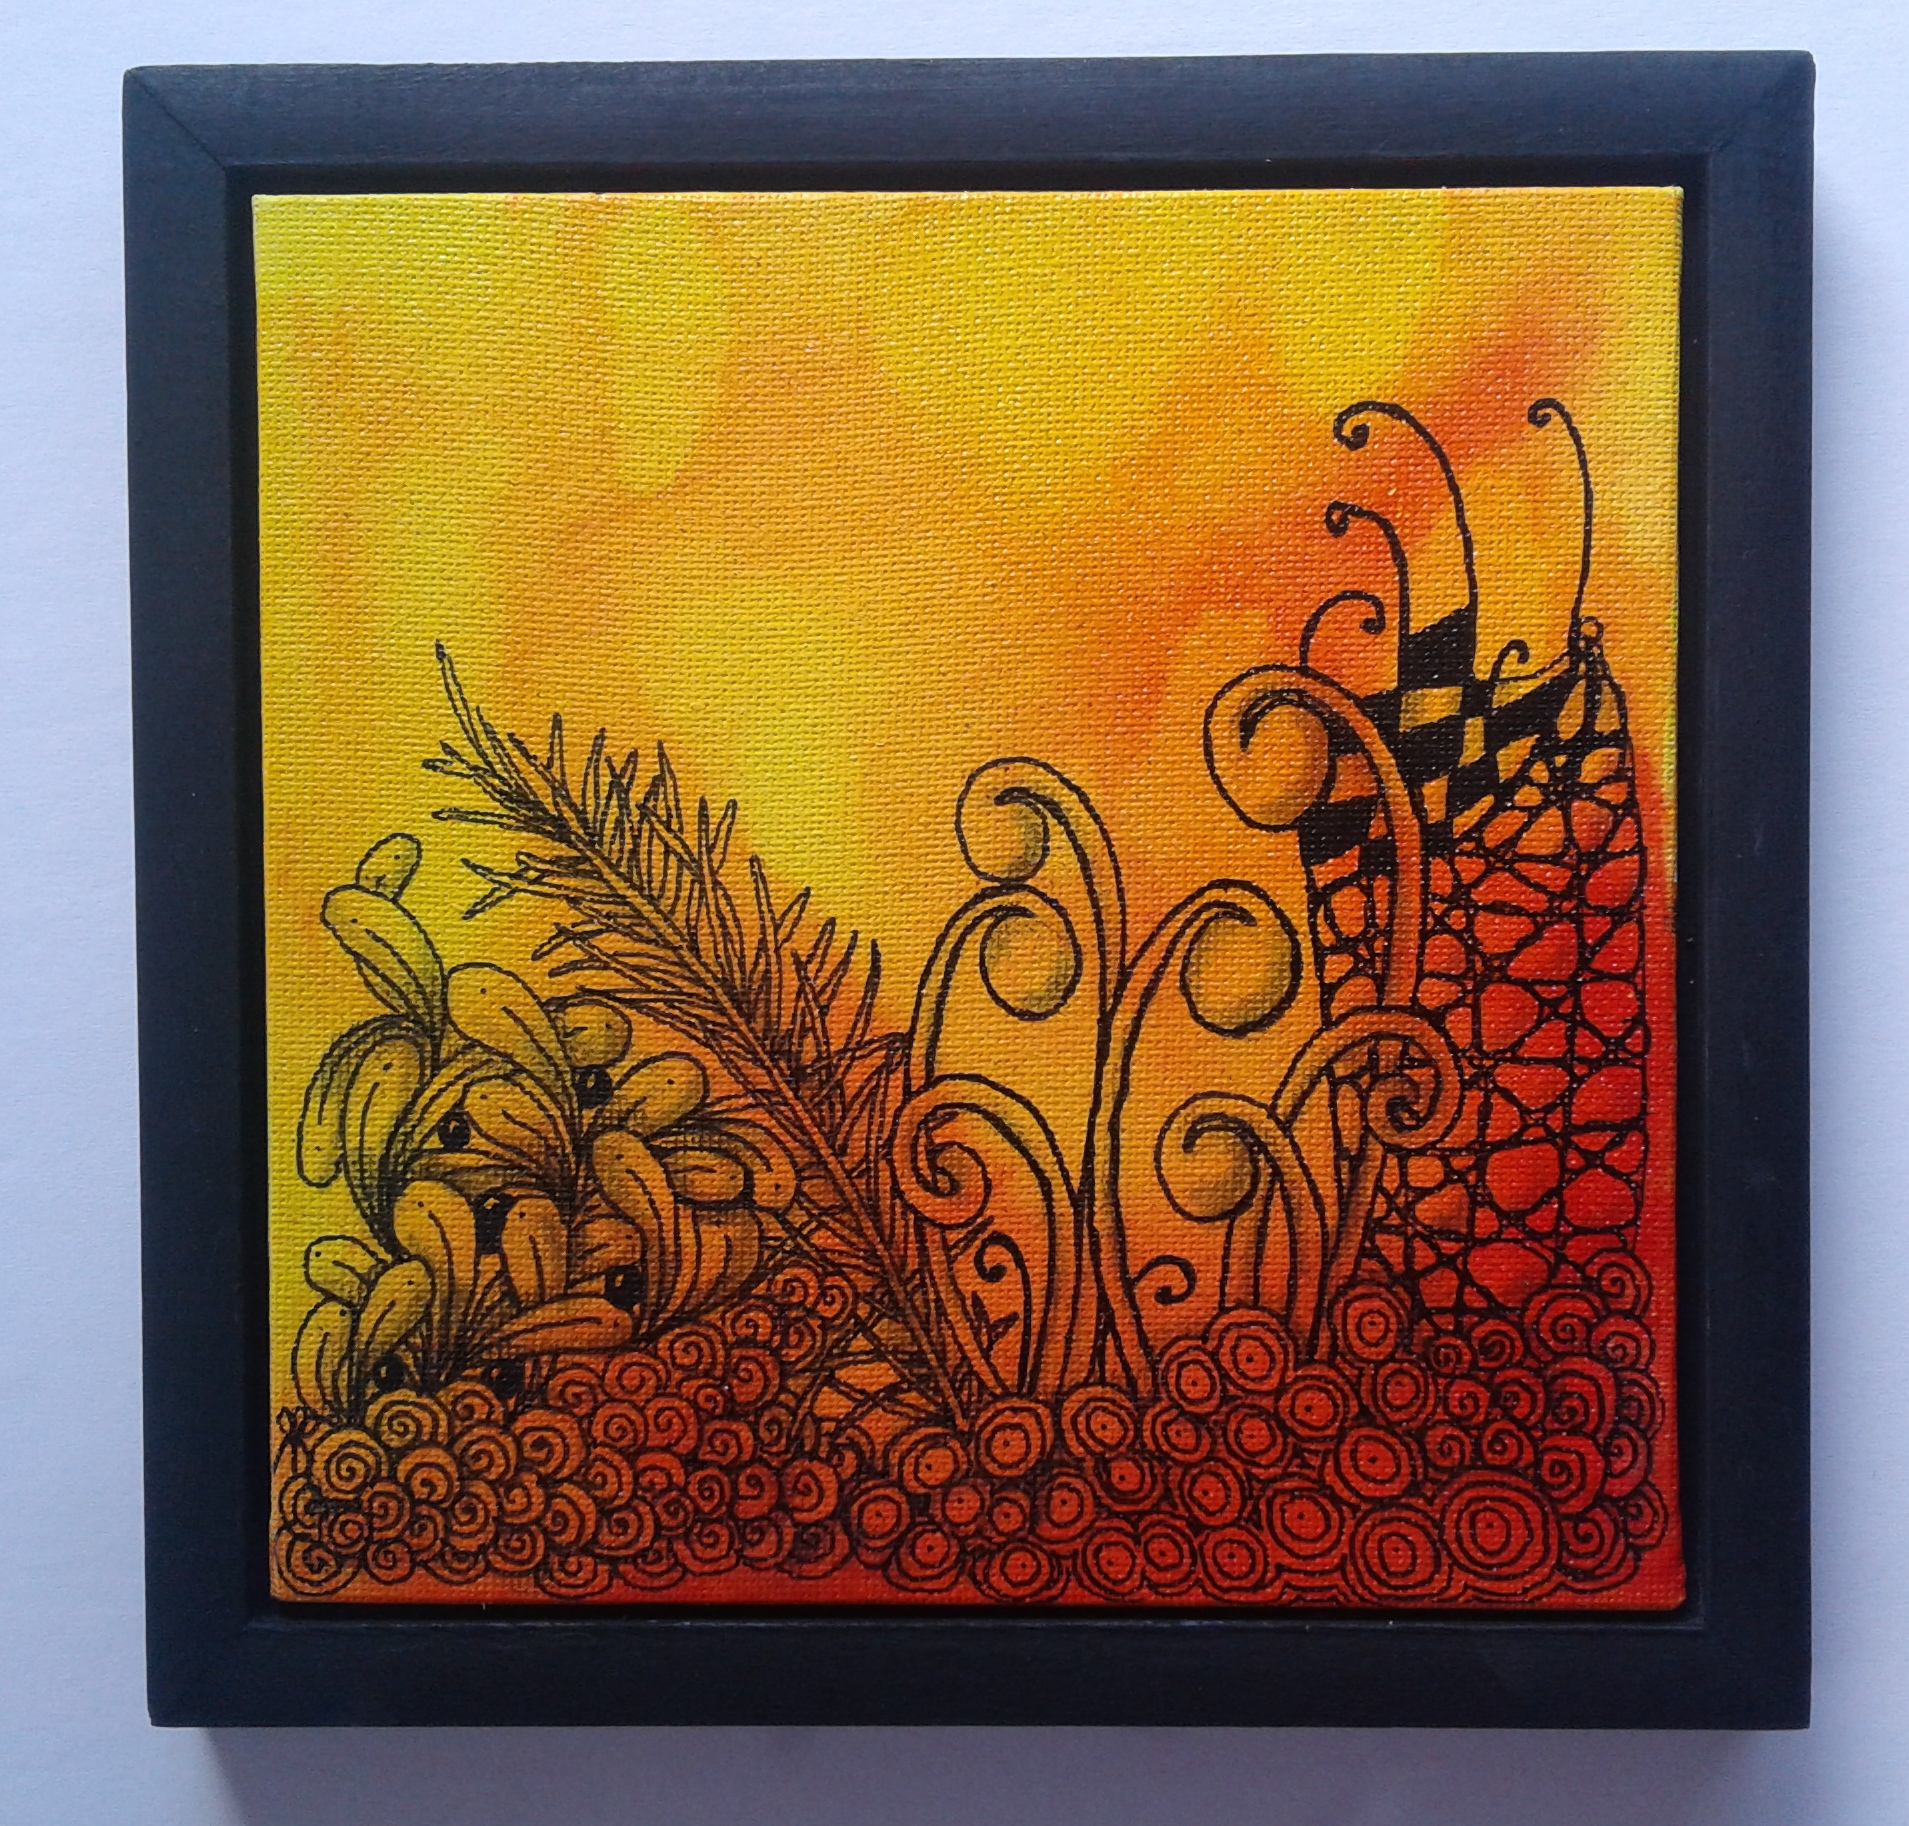
ZIA88-Z1577-2018May20-Sunburst

“Sunburst” Tangled on Alcohol Ink background

Tangled Tidbits – A Weekly Tangling Class

I’ve been thinking – wouldn’t it be nice to have a weekly Zentangle session where the same folks can meet for an hour, do a bit of tangling, and have a little Zen-ish moment?  This is what I came up with.

Tangled Tidbits is a new, virtual classroom where we can meet for an hour each week and learn something new through guided instruction. We’ll tangle following the principles of the Zentangle Method, which focuses on gratitude and appreciation, simple strokes, and enjoying the process.

An hour is just long enough to:

  • Try a new tangle
  • Learn a tangleation
  • Practise a tip or technique
  • Start working on a specific tile
  • Ask a question
  • Play with materials
  • Try something new

Each week, I’ll have something fun to share, or we’ll go with something the class wants to explore. You’ll have a say in what we do! The goal will not be to finish a project in this class. We will try something new and different, or get started on a tile that you can finish on your own throughout the week. Unlike a regular lesson, it’s just a tidbit – for example, we might talk shading tips, but it won’t be a full shading class. 🙂

It’s important that we keep this fun and doable for everyone, and that means keeping materials simple – things everyone has easy access to (- like 01 Micron, paper, pencil and tort to start!)

COST: Monthly subscription of $35 for weekly one-hour sessions.  You can register here.

What do you think? Are you in? Contact me if you’d like more information.